设置 Grafana HTTPS 以确保 Web 流量安全
通过 Web 访问 Grafana UI 时,设置 HTTPS 非常重要,以确保 Grafana 与终端用户之间的通信加密,包括登录凭据和检索到的指标数据。
为了确保互联网上的安全流量,Grafana 必须拥有加密密钥和 安全套接层 (SSL) 证书 来验证站点身份。
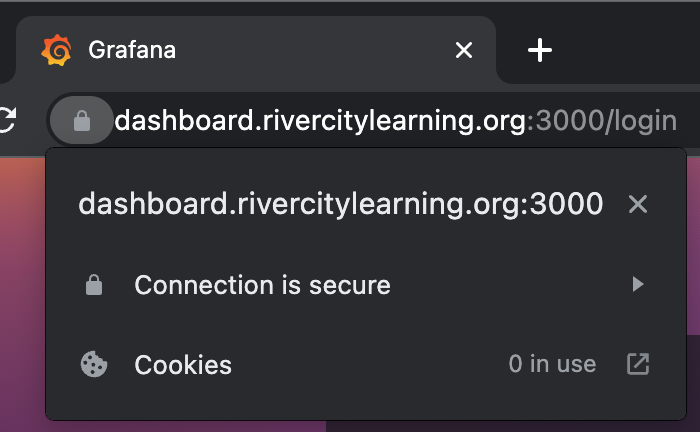
下图显示了浏览器锁图标,确认连接安全。

本主题向您展示如何
- 获取证书和密钥
- 配置 Grafana HTTPS
- 重启 Grafana 服务器
开始之前
要按照这些说明操作,您需要
- 您必须拥有系统的 Shell 访问权限和
sudo权限,才能以 root 或管理员身份执行操作。 - 对于 CA 签名选项,您需要拥有一个域名,并且该域名与您正在使用的机器相关联。
获取证书和密钥
您可以使用以下两种方法之一来获取证书和密钥。更快捷、更容易的自签名选项可能会向用户显示浏览器警告,用户每次访问站点时都必须接受这些警告。或者,证书颁发机构 (CA) 签名选项需要更多步骤才能完成,但它使浏览器完全信任。要了解这些选项之间的更多区别,请参阅 自签名 CA 和自签名证书之间的区别。
生成自签名证书
本节介绍如何使用 openssl 工具从命令行生成所有必需的文件。
运行以下命令生成 2048 位 RSA 私钥,用于解密流量
sudo openssl genrsa -out /etc/grafana/grafana.key 2048使用上一步生成的私钥,运行以下命令生成证书。
sudo openssl req -new -key /etc/grafana/grafana.key -out /etc/grafana/grafana.csr出现提示时,回答问题,其中可能包括您的完全限定域名、电子邮件地址、国家/地区代码等。以下示例与您将看到的提示类似。
You are about to be asked to enter information that will be incorporated
into your certificate request.
What you are about to enter is what is called a Distinguished Name or a DN.
There are quite a few fields but you can leave some blank
For some fields there will be a default value,
If you enter '.', the field will be left blank.
-----
Country Name (2 letter code) [AU]:US
State or Province Name (full name) [Some-State]:Virginia
Locality Name (eg, city) []:Richmond
Organization Name (eg, company) [Internet Pty Ltd]:
Organizational Unit Name (eg, section) []:
Common Name (e.g. server FQDN or YOUR name) []:subdomain.mysite.com
Email Address []:me@mysite.com

Please enter the following 'extra' attributes
to be sent with your certificate request
A challenge password []:
An optional company name []:
使用私钥对证书进行自签名,有效期为 365 天,运行以下命令
sudo openssl x509 -req -days 365 -in /etc/grafana/grafana.csr -signkey /etc/grafana/grafana.key -out /etc/grafana/grafana.crt运行以下命令设置文件的适当权限
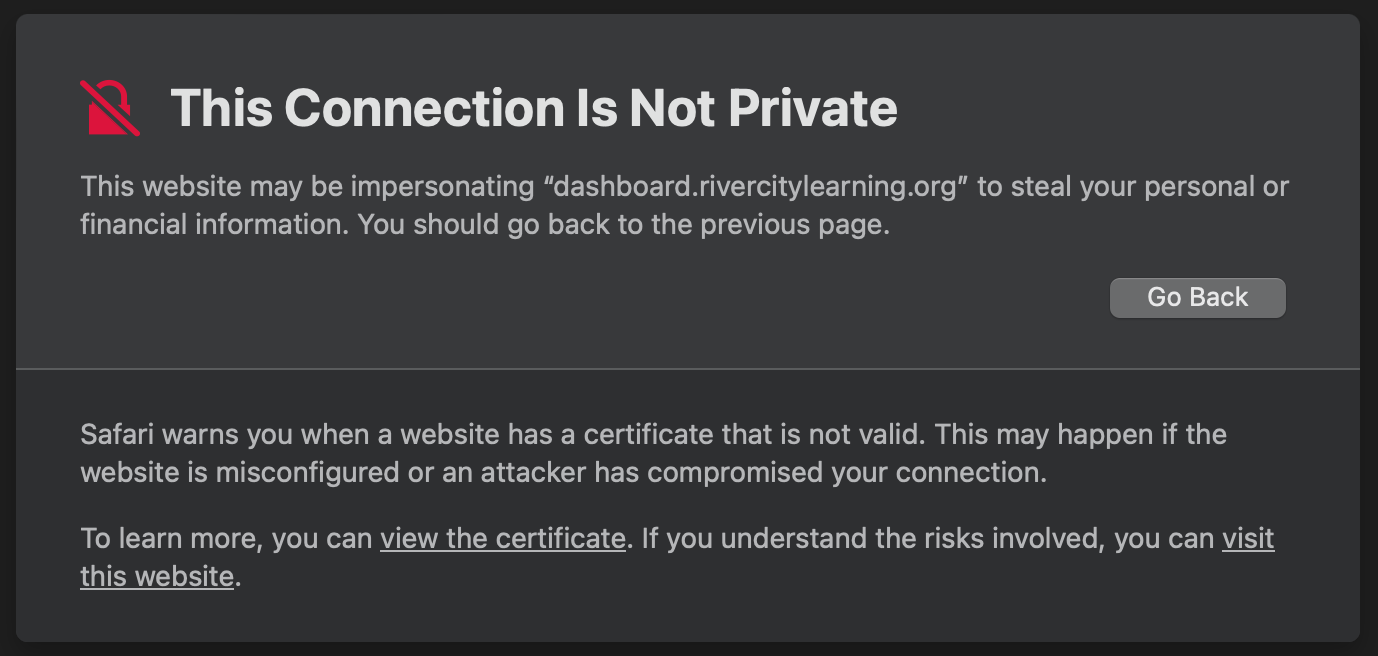
sudo chown grafana:grafana /etc/grafana/grafana.crt sudo chown grafana:grafana /etc/grafana/grafana.key sudo chmod 400 /etc/grafana/grafana.key /etc/grafana/grafana.crt注意:使用这些文件时,浏览器可能会对生成的网站提供警告,因为第三方来源不信任该证书。浏览器将显示信任警告;但是,连接仍将加密。
下图显示了不安全的 HTTP 连接。
![Insecure HTTPS connection Insecure HTTPS connection]()
不安全的 HTTPS 连接
从 LetsEncrypt 获取签名证书
LetsEncrypt 是一家非营利性证书颁发机构,免费提供证书。对于签名证书,有多个公司和证书颁发机构 (CA) 可供选择。生成证书的原理可能因提供商而异,但通常保持不变。
本节中的示例使用 LetsEncrypt,因为它是免费的。
注意
本节提供的说明适用于基于 Debian 的 Linux 系统。对于其他发行版和操作系统,请参阅 certbot 说明。此外,这些说明要求您拥有并控制一个域名。动态域名(如 Amazon EC2 或 DynDNS 提供商提供的域名)将无法使用。
安装 snapd 和 certbot
certbot 是用于管理 LetsEncrypt 证书的开源程序,而 snapd 是一个辅助运行 certbot 和安装证书的工具。
要安装
snapd,请运行以下命令sudo apt-get install snapd sudo snap install core; sudo snap refresh core运行以下命令安装
sudo apt-get remove certbot
sudo snap install --classic certbot
sudo ln -s /snap/bin/certbot /usr/bin/certbot
这些命令
- 如果已使用包管理器安装了
certbot,请从您的系统中卸载它 - 使用
snapd安装certbot
- 如果已使用包管理器安装了
使用 certbot 生成证书
sudo certbot certonly --standalone 命令会在生成证书之前提示您回答问题。此过程会暂时在端口 80 上开启一个服务,LetsEncrypt 使用该服务验证与您的主机的通信。
要使用 certbot 生成证书,请完成以下步骤
确保适用的防火墙规则允许端口 80 的流量。
运行以下命令生成证书
$ sudo certbot certonly --standalone

Saving debug log to /var/log/letsencrypt/letsencrypt.log
Enter email address (used for urgent renewal and security notices)
(Enter 'c' to cancel): me@mysite.com

- - - - - - - - - - - - - - - - - - - - - - - - - - - - - - - - - - - - - - - -
Please read the Terms of Service at
https://letsencrypt.openssl.ac.cn/documents/LE-SA-v1.3-September-21-2022.pdf. You must
agree in order to register with the ACME server. Do you agree?
- - - - - - - - - - - - - - - - - - - - - - - - - - - - - - - - - - - - - - - -
(Y)es/(N)o: y

- - - - - - - - - - - - - - - - - - - - - - - - - - - - - - - - - - - - - - - -
Would you be willing, once your first certificate is successfully issued, to
share your email address with the Electronic Frontier Foundation, a founding
partner of the Let’s Encrypt project and the non-profit organization that
develops Certbot? We’d like to send you email about our work encrypting the web,
EFF news, campaigns, and ways to support digital freedom.
- - - - - - - - - - - - - - - - - - - - - - - - - - - - - - - - - - - - - - - -
(Y)es/(N)o: n
Account registered.
Please enter the domain name(s) you would like on your certificate (comma and/or
space separated) (Enter 'c' to cancel): subdomain.mysite.com
Requesting a certificate for subdomain.mysite.com

Successfully received certificate.
Certificate is saved at: /etc/letsencrypt/live/subdomain.mysite.com/fullchain.pem
Key is saved at:         /etc/letsencrypt/live/subdomain.mysite.com/privkey.pem
This certificate expires on 2023-06-20.
These files will be updated when the certificate renews.
Certbot has set up a scheduled task to automatically renew this certificate in the background.

- - - - - - - - - - - - - - - - - - - - - - - - - - - - - - - - - - - - - - - -
If you like Certbot, please consider supporting our work by:
* Donating to ISRG / Let’s Encrypt:   https://letsencrypt.openssl.ac.cn/donate
* Donating to EFF:                    https://eff.org/donate-le
- - - - - - - - - - - - - - - - - - - - - - - - - - - - - - - - - - - - - - - -
设置指向 Grafana 的符号链接
符号链接(也称为 symlink)允许您在 /etc/grafana 目录中创建指向现有 LetsEncrypt 文件的指针。通过使用符号链接而不是复制文件,您可以使用 certbot 更新或请求 LetsEncrypt 的最新证书,而无需重新配置 Grafana 设置。
要设置指向 Grafana 的符号链接,请运行以下命令
$ sudo ln -s /etc/letsencrypt/live/subdomain.mysite.com/privkey.pem /etc/grafana/grafana.key
$ sudo ln -s /etc/letsencrypt/live/subdomain.mysite.com/fullchain.pem /etc/grafana/grafana.crt
调整权限
Grafana 通常在 grafana Linux 组下运行,您必须确保 Grafana 服务器进程有权限读取相关文件。如果没有读取权限,HTTPS 服务器将无法正常启动。
要调整权限,请执行以下步骤
运行以下命令为文件设置适当的权限和组
$ sudo chgrp -R grafana /etc/letsencrypt/*
$ sudo chmod -R g+rx /etc/letsencrypt/*
$ sudo chgrp -R grafana /etc/grafana/grafana.crt /etc/grafana/grafana.key
$ sudo chmod 440 /etc/grafana/grafana.crt /etc/grafana/grafana.key
运行以下命令验证
grafana组可以读取符号链接$ $ ls -l /etc/grafana/grafana.* lrwxrwxrwx 1 root grafana 67 Mar 22 14:15 /etc/grafana/grafana.crt -> /etc/letsencrypt/live/subdomain.mysite.com/fullchain.pem -rw-r----- 1 root grafana 54554 Mar 22 14:13 /etc/grafana/grafana.ini lrwxrwxrwx 1 root grafana 65 Mar 22 14:15 /etc/grafana/grafana.key -> /etc/letsencrypt/live/subdomain.mysite.com/privkey.pem
配置 Grafana HTTPS 并重启 Grafana
在本节中,您将编辑 grafana.ini 文件,使其包含您创建的证书。如果您需要帮助确定此文件在哪里,或每个键的含义,请参阅 配置文件位置。
要配置 Grafana HTTPS 并重启 Grafana,请完成以下步骤。
打开
grafana.ini文件并编辑以下配置参数[server] http_addr = http_port = 3000 domain = mysite.com root_url = https://subdomain.mysite.com:3000 cert_key = /etc/grafana/grafana.key cert_file = /etc/grafana/grafana.crt enforce_domain = False protocol = https注意:SSL 流量的标准端口是 443,您可以使用它来代替 Grafana 的默认端口 3000。此更改可能需要额外的操作系统权限或配置才能绑定到较低编号的特权端口。
可选。从 Grafana v11.2 开始,如果您使用加密证书,请编辑
cert_pass配置选项,填入解密密码。根据您的环境,使用
systemd、init.d或二进制文件重启 Grafana 服务器。
故障排除
如有需要,请参考以下故障排除技巧。
获取证书失败
以下原因解释了 certbot 进程可能失败的原因
- 为了确保您可以从 LetsEncrypt 获取证书,您需要确保端口 80 是开放的,以便 LetsEncrypt 可以与您的机器通信。如果端口 80 被阻塞或防火墙已启用,则交换将失败,您将无法接收证书。
- LetsEncrypt 要求您证明您控制该域名,因此尝试获取您不控制的域名的证书可能会被拒绝。
Grafana 启动,但 HTTPS 不可用
配置 HTTPS 时,Grafana 的日志中可能会出现以下错误。
权限被拒绝
level=error msg="Stopped background service" service=*api.HTTPServer reason="open /etc/grafana/grafana.crt: permission denied"解决方法
为了确保安全的 HTTPS 设置,加密密钥和证书的限制必须尽可能严格。然而,如果文件权限过于受限,Grafana 进程可能无法访问必要的文件,从而阻碍成功的 HTTPS 设置。请重新检查列出的说明,仔细核对文件权限,然后重试。
无法分配请求的地址
listen tcp 34.148.30.243:3000: bind: cannot assign requested address解决方法
检查配置,确保 http_addr 留空,以便 Grafana 绑定到所有接口。如果您已将 http_addr 设置为特定的子域名,例如 subdomain.mysite.com,由于存在网络地址转换层,这可能会阻止 Grafana 进程绑定到外部地址。


